
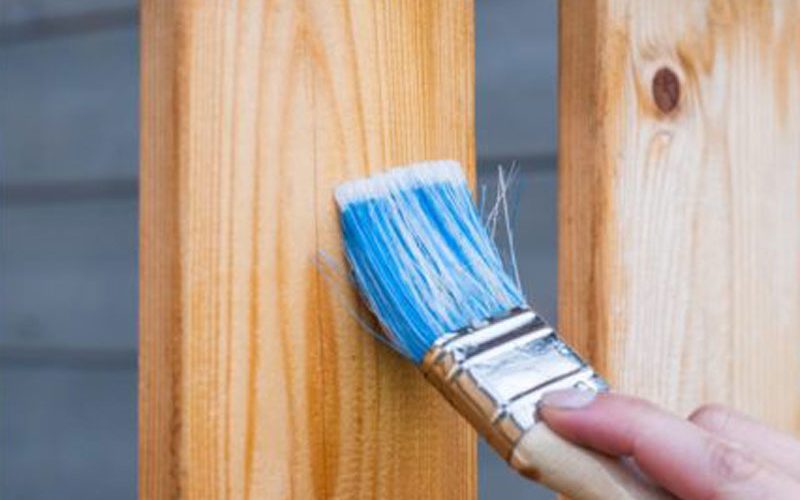
A well-maintained wooden fence not only enhances privacy but also adds charm and character to your backyard. Choosing the right paint color can beautifully complement your home’s exterior, setting the tone for your outdoor space.
However, painting a wooden fence requires technique, preparation, and attention to detail. To help you achieve a flawless finish, we’ve compiled seven expert tips to guide you through the process.
1. Prepare Your Fence Properly
Painting your fence isn’t as simple as grabbing a brush and getting started. Proper preparation ensures a smooth, long-lasting finish.
Start by mowing the grass around your fence to avoid missing the lower portions. Lay a tarp or plywood beneath the fence to catch any drips and prevent staining your yard.
Inspect your fence for signs of damage. If the wood is splintered or severely deteriorated, it may be time for a replacement before painting.
2. Gather the Right Equipment
Having the right tools on hand will make the painting process smoother and more efficient. Essential items include:
✔ Paintbrushes and rollers
✔ Paint sprayer (optional but recommended)
✔ Sandpaper
✔ Painter’s tape
✔ Extension cord (if using an electric sprayer)
✔ Step ladder
✔ Gloves and protective clothing
✔ Tarp or drop cloth
✔ High-quality exterior paint or stain
Assembling everything in advance will prevent interruptions during the project.
3. Repair and Maintain the Fence Before Painting
Before you apply paint, inspect the fence for any loose nails, broken boards, or structural issues.
- Remove rusted or protruding nails and replace them with galvanized screws.
- Patch small cracks with wood filler.
- Replace any damaged or rotted boards.
Skipping this step can result in an uneven, short-lived paint job.
4. Consider Your Climate
Your local weather plays a significant role in how often you should repaint your fence. Regular exposure to moisture can cause paint to deteriorate faster.
If you live in a rainy region, plan to repaint your fence every two years to maintain its protective barrier. Unsure if your fence needs a fresh coat? Try this quick test:
Sprinkle water onto the wood. If the water beads up, your fence is still protected. If it absorbs into the wood, it’s time for a new coat of paint or stain.
5. Clean the Fence Thoroughly
Once repairs are complete, thoroughly clean the fence to remove dirt, mildew, and debris. Use a specialized wooden fence cleaner and follow the manufacturer’s instructions.
Rinse the fence with a hose and allow it to dry completely before painting. This ensures better adhesion and longevity of the paint.
6. Use the Correct Painting Technique
Using a paint sprayer can significantly speed up the painting process while delivering a professional finish. However, it requires careful technique:
✔ Hold the sprayer 6-8 inches away from the fence.
✔ Move in steady, even strokes.
✔ Apply multiple thin coats rather than one thick layer.
If using a brush or roller, work in the direction of the wood grain for an even application.
7. Choose the Right Paint or Stain
Selecting high-quality paint or stain is crucial for durability and protection. Look for options designed specifically for exterior wood surfaces.
✔ Oil-based paints provide superior protection and longevity.
✔ Acrylic latex paints offer easier application and faster drying times.
✔ Stains enhance the natural wood grain while providing moisture resistance.
Estimate the amount of paint needed beforehand to avoid running out mid-project.
When to Contact a Professional
If painting your fence seems like a daunting task, hiring a professional fencing contractor can save you time and effort. They have the experience and tools to ensure a flawless, long-lasting finish, plus you can avoid a fence disaster. Need expert advice on fence maintenance or installation? Contact us today to speak with a professional and get a free estimate!


